

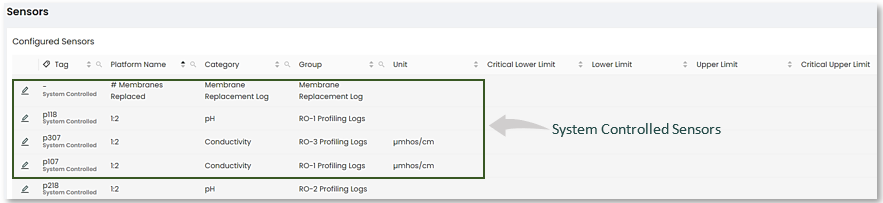
The Sensors screen displays Configured Sensors in your plant, which provides you with information that can be sorted by column.
On this page, users can see the mapping between the plant's sensor names and the corresponding names in the platform.
The Tag column corresponds to the name of the sensor in the PLC. Because PLC tags can be difficult to read, the Platform Name is used in Overview, Data, Interactive, and all other features of the platform for clarity and readability.
|
|
To access and enable Sensor editing, do the following:
- On the Platform, click on the "Admin Configure" page.
- Locate "Sensors" in the Tools menu on the left of the screen and click on it.
Here you will see the "Configured Sensors" screen. An example is shown below:
Editing Sensors
Clicking on the pencil edit icon ![]() located to the left of a selected sensor will reveal a popup window in which you can the edit field contents of the sensor, such as Upper and Lower Limits. These are normally defined initially with the "FormBuilder Tool" on the Data page.
located to the left of a selected sensor will reveal a popup window in which you can the edit field contents of the sensor, such as Upper and Lower Limits. These are normally defined initially with the "FormBuilder Tool" on the Data page.
|
|

User created Sensors may be further edited dependent on access to non-greyed out fields.
Once editing is completed. Re-save using the highlighted "Save" button.
|
|

